The new Idea Book comes out May/June 2014 and with that new book comes awesome new merchandise and sometimes that single item that you really love won't be in the new catalog.
Don't wait until its too late. If there is something that you really want, order it before the end of April.
Better yet, order it before March 31st and get free goodies too!
Some things don't go away like tools and supplies, but "out with the old and in with the new" really applies to the new catalog coming soon. I for one can't wait to see the new stuff.
Stay tuned to this blog and follow me on Facebook to learn more about the new merchandise.
Sale-A-Bration (free stuff with order of 50$ or more) ends March 31st.
Sunday, March 30, 2014
Wednesday, March 26, 2014
Tuesday, March 25, 2014
Just playing around...
My kids and I had some fun making Minecraft cards. We were hoping they would sell for our Dallas trip, but the were just fun to make.
This was my take on all the minerals in Minecraft. (Blank inside)
Finding an Apple tree is always exciting in Minecraft. (Blank inside)
Gast are in the Nether which I've never personally seen, but I've heard its gnarly.
This is the outside and it says, You are as rare as a Mooshroom.
Inside is a Mooshroom.
Tzipi made this cake and on the inside it says...
"Happy Everything to you."
Creepers blow up on the outside of this card.
Inside it says, Creepers are green, Lapis is blue, Get well real quick, So you can play too!
One of the most exciting things is getting to use a Crafting table. If you use diamonds in this order you get a...
Pull the tab out...
You are as awesome as a diamond chestplate.
Here's an Enderman with some mined goodies. (blank inside)
The outside of card has a tree and dirt and the inside has a creeper that says...
Boom!
Monday, March 24, 2014
Sale-A-Bration ends soon!
I want you to take advantage of the awesome deals during Sale-A-Bration and it ends March 31st! Only 8 days. I'm hosting a cyber workshop to build my business. My hostess code is HQ6NPWNU. If you want to buy some supplies and get some free goodies, please do it now.
If you don't want to spend a lot but want to get some great deals, check out the Clearance Rack at my store! Every order counts.
If you would like to be a hostess for your own workshop, feel free to email me and we'll set a date!
If you don't want to spend a lot but want to get some great deals, check out the Clearance Rack at my store! Every order counts.
If you would like to be a hostess for your own workshop, feel free to email me and we'll set a date!
Sunday, March 23, 2014
One Page Wonder
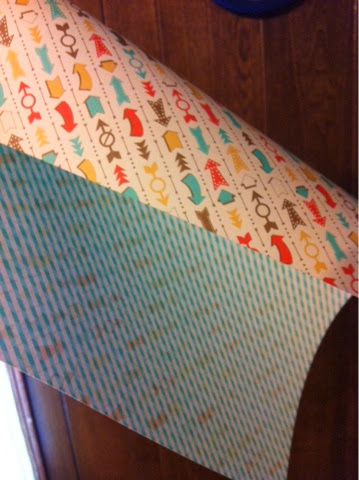
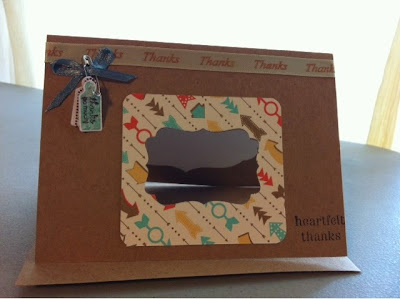
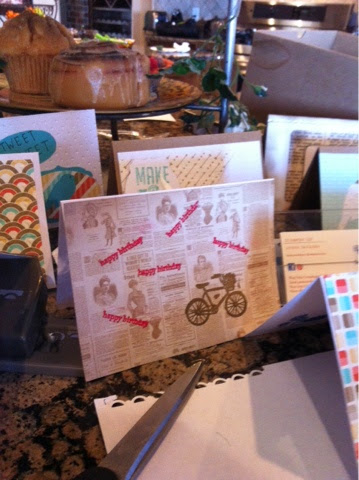
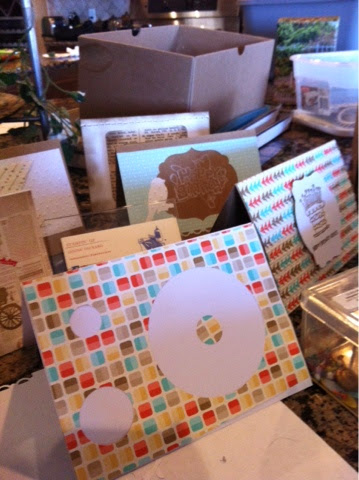
The awesome thing about Stampin' Up!'s coordinating paper is that there is a different design on each side. You can take a single page of 12x12 paper and make 12 unique cards. Here's how I did it...
While using the Big Shot to cut out the cards I also used my favorite punches and added dimension.
This one is adorable with Rick Rack and I used an Edgelit to cut a scalloped edge.
This one has tons of texture because I used a Scallop Texture embossing folder as well as a Dot embossing folder.
Of course when I saw this wood grain texture, I had to add my favorite Owl punch.
I love making windows and this one allows you to see "Thank You" before you even open the card.
Using dimensional adhesive makes this flower pop up from the card.
I carried the Black from my stamped "Hello" to the front of the card with the Black ribbon. I distressed the card with a little Chocolate Chip ink to carry the brown arrows from the Retro Designer Series Paper.
Using white ink on brown paper is a nice subtle way to tie this card together.
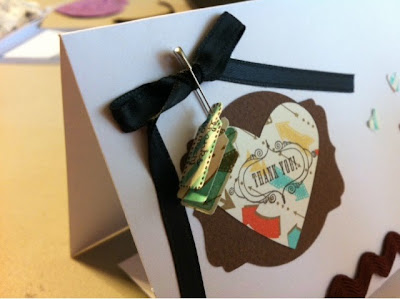
I used glitter glue to secure these tiny hearts to the card. In the following photo you can see a close up of my Tiny Tags secured with a safety pin.
And here you have 12 unique cards with one 12x12 sheet of coordinating paper. You can either package as two sets of 6 and give them as gifts or just keep them for each month and give them as needed to your friends and family. Please comment with any future ideas or questions you might have! I know I didn't give you all of the names of the die cuts and things, so if you have questions about order numbers and item names, please let me know. Thanks for following my blog!
Saturday, March 22, 2014
Have you entered my contest yet?
So far I've had two very eager gals enter my contest that ends March 31st. Share my blog on Pinterest, Instagram, Twitter, Facebook, and with other blogs and I will enter your name to win Happy mail! Happy mail is full of ephemera, stickers, and other goodies for your journal, scrapbooks or other paper crafts. Just comment below and let me know where you shared. And to increase the excitement, I will add an extra goodie for each additional entry!
Friday, March 21, 2014
A Homeschool MUST HAVE!

'
When I saw this stamp set I was so excited. This would be so much fun when kids are studying the United States!
| Map It Out Photo-polymer Stamp Set | 134620 | ||||||||||||||||||
| Price: $13.95 | |||||||||||||||||||
|
Use
this exclusive photo-polymer stamp set to map out your travels on
postcards or scrapbook pages. We recommend clear block sizes A, B, and C
(not included in the set). Our photo-polymer stamps offer a versatile all-clear stamping option. You’ll find that our photopolymer is top-quality and give a perfectly stamped image every time. The stamps stick amazingly well to our clear blocks and are easy to place just where you want them. And best of all, you get to enjoy tons of images for a great price! Set Quantity: 64 If you stamp with clear-mount stamps, you'll need a clear block to adhere your stamps to. Our blocks are a clear choice. Made from high-quality, sturdy acrylic, these blocks can hold one stamp or multiple stamps if you want to create a collage of images.
| |||||||||||||||||||
|
| |||||
Thursday, March 20, 2014
What I'm working on now...
Stay tuned! I am currently working on "One Page Wonder". It's when you take a 12x12 piece of paper and make 12 unique cards with it. I'm having so much fun, but I have school and other things that keep getting in the way. :-) So as soon as I'm done with them I will post pictures.
Tuesday, March 18, 2014
What's so great about Washi Tape?
(Some of the designs in this picture are only available during the holidays)
I'm going to assume that if you ask the question, 'What's so great about Washi Tape', you've never actually used it. Washi tape is only the hottest thing in paper crafting right now. I don't know why it took us so many years to invent patterned tape, but I'm going to blame the Duct Tape people. They started it. But Duct Tape only has so many uses.
Washi tape is beautiful and you WANT to show it off. You don't hide it under a picture, you secure your picture with the stuff on top so everyone can see it. It's collectable but at the same time you want to use it. I have four rolls of it and I just can't stop thinking about it. I want more. The Washi Tape that Stampin' Up! sells is very high quality and sticks when you want it to, but I have a solution to the poorer quality washi tape you might have from the dollar store. Just use the Stampin' Up Snail Adhesive and even though it seems silly to use a tape runner on tape, at least you get aren't wasting it. Especially if its a design you really like.
So if you would like to buy some from my website, please visit now. 3 rolls for $4.95 which is only $1.65 a roll! Not bad if you ask me.
| 133001 | Designer Washi Tape This and That Retro Fresh | |||
| 133000 | Designer Washi Tape Watercolor Wonder | |||
| 131269 | Epic Day This and That Designer Washi Tape | |||
| 129314 | Gingham Garden Designer Washi Tape |
Monday, March 17, 2014
Spread the word and WIN!
(This is my happy mail is from my friend Mary.)
Everyone loves a contest! If you share my blog on Facebook, Instagram, Pinterest or the blogosphere, I will enter your name into a drawing to win HAPPY MAIL! What is happy mail? I send you an envelope full of beautiful things for your scrapbook or other art project. Just comment on this post and let me know you shared! For each share you get an entry! The contest will end March 31st and I will blog the winner's name and you can email me at janinedeckard@gmail.com to claim your prize. Make sure you check on March 31st to see who won!
Everyone loves a contest! If you share my blog on Facebook, Instagram, Pinterest or the blogosphere, I will enter your name into a drawing to win HAPPY MAIL! What is happy mail? I send you an envelope full of beautiful things for your scrapbook or other art project. Just comment on this post and let me know you shared! For each share you get an entry! The contest will end March 31st and I will blog the winner's name and you can email me at janinedeckard@gmail.com to claim your prize. Make sure you check on March 31st to see who won!
Sunday, March 16, 2014
Saturday, March 15, 2014
Playing with the Big Shot
I made a pile of cut outs from the Big Shot and added some things to my journal.
Oh and there are two people in this picture. My foot in the tan striped sock and Zalmi's in the blue. :)
Friday, March 14, 2014
My first workshop
We had a great time at our community service project workshop for creating birthday cards for Meals on Wheels. We learned how to emboss with a heat tool and used a Big Shot with dies and embossing folders.
First the moms practiced with all the tools and made their own cards. Then we brought the kids in and had them take turns between embossing and cutting with the Big Shot.
I'm looking forward to a restful weekend and another successful week.Thursday, March 13, 2014
A very busy week
I have blogged everyday since I started this new endeavor and I missed yesterday. I had to get to the grocery store, get my kids to the library for new books and tutoring, get lunch made, baby down to nap, floor vacuumed, bathroom cleaned, dishes done, clutter picked up and supplies picked up from my upline. Once that was done I started prepping things for my class on Friday with intentions for blogging about preparing for a workshop. Life happens and my nearly 18 month old has decided he doesn't need to sleep anymore. I did get everything done but I share this because it's imperative that anyone trying to run a business and a family must realize that there will be days like this. My advice is that as long as you invest at least one thing in your business you should consider your day a success. Goals are vital but not set in stone. I have to be flexible and patient to be successful. I'm not willing to sacrifice my family to be successful so there will be days when they get more time from me.
Card created by my upline. Thank you Kelley!
Tuesday, March 11, 2014
Letting the world know...
One of the things I received in my business kit was a vinyl cling that I put on my van tonight! I'm so excited to shout from the roof tops that I am an independent demonstrator for Stampin' Up!
Please tell your friends and family. You never know who would like a girl's night of creativity.
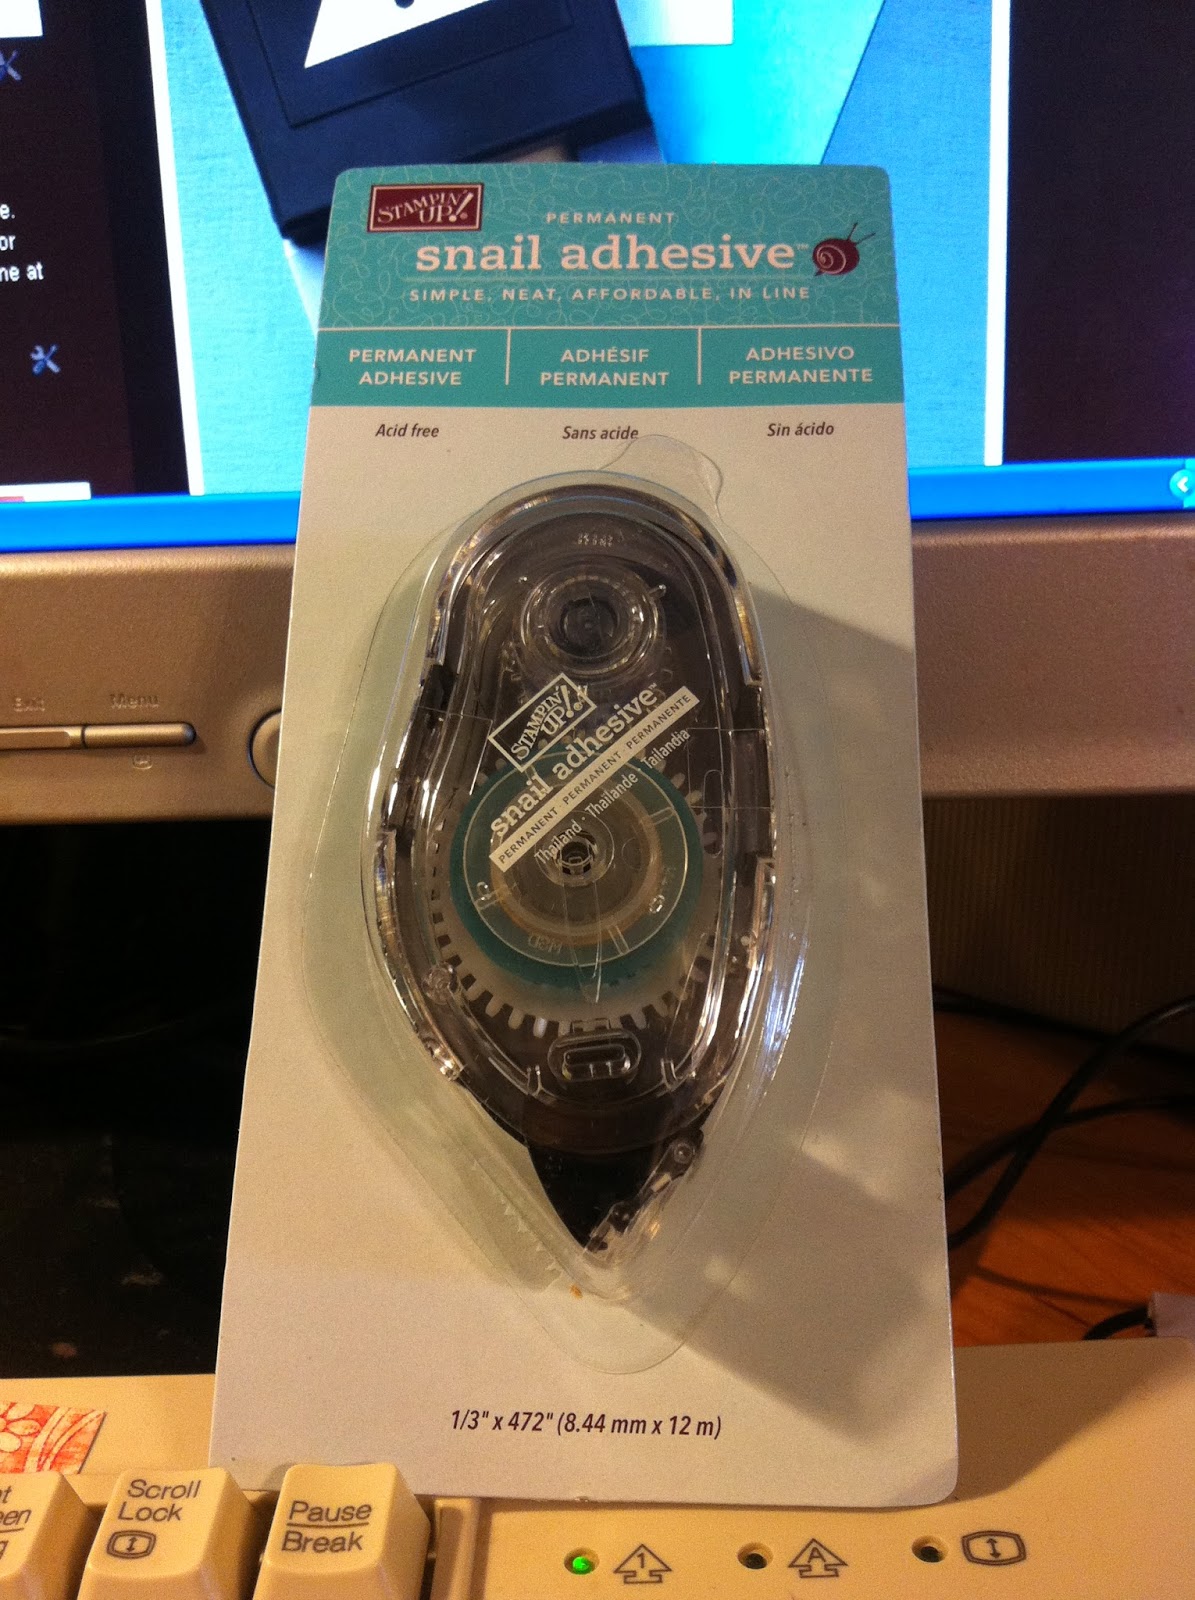
Why Stampin' Up!'s Snail Adhesive is the best!
472" of super sticky awesomeness! I have tried every tape runner, glue stick, and other so-called scrap-booking adhesive out there and by far this is the best. It is true that you get what you pay for. Nothing is more frustrating that having things come undone in your journal or from a card that you worked so hard on. It just doesn't happen with Snail Adhesive. Amazingly after 5 years they've even improved the runner! You can buy replacements so you don't have to keep buying the entire runner case. One of my favorite things about this adhesive is when I want to make ribbon, lace or rick-rack stick to my page, it only sticks to the fabric. There isn't a rectangular piece of glue sticking out so that the pages stick together. I don't know exactly how it works but it works really well. Don't wait. Buy one today and see what I mean!
Monday, March 10, 2014
Aqua painters
If you have ever had the opportunity to use an AquaPainter you will never use a boring paint brush again. This is especially true with watercolors to color the stamp image. I think classrooms would love these Aquapainters for kids. They are amazingly user friendly and long lasting.
Sunday, March 9, 2014
Clear stamp assembly
When you first open your stamp set you might be dismayed that it's not instantly ready-to-use. I do offer to put them together but it's really not that hard. First remove the stamps from their rubber base.
Then make sure everything is in the correct position.
Once you are ready to peel the stickers, note that there is a cut on the paper backing.
I used half of the label and left the other half of the paper backing on so I could secure the picture properly. Once I was happy with the positioning, I removed the second half of the paper backing.
Subscribe to:
Posts (Atom)


